

Quick Step-by-Step (Swap, Center, Seal, Check)
Guided Walkthrough
How to Handle 300 ml vs 2.2 L Bellows: Installation, Leak Testing & Maintenance Tips
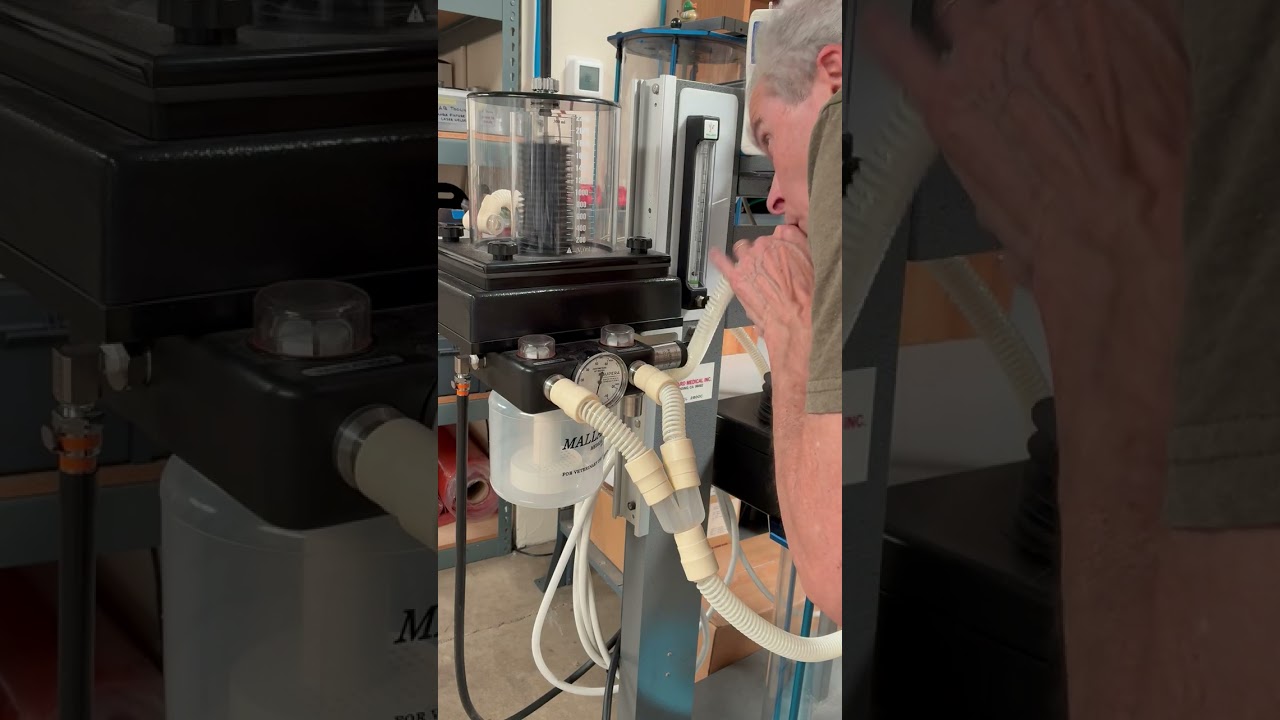
We dive into the detailed differences and installation process of the 300 mL bellows versus the larger 2.2 liter bellows used in animal ventilation systems. Learn how to properly remove and replace the bellows, including the importance of handling the knobs evenly to avoid damaging gaskets and ensuring a leak-free seal.
- Remove current canister. Unscrew the 4 knobs, detach the rear hose, lift off the 2.2 L canister.
- Place support canister. Required for the 300 ml bellows to prevent flopping.
- Center precisely. Use the six screw-hole marks as a visual guide; seat the bellows on the top gasket centered.
- Set the rod. Position the tidal-volume rod about halfway down.
- Lower straight. Align the light-colored rod into the tidal-volume rod and bring the canister straight down without shifting center.
- Install knobs evenly. Thread until they just touch, then tighten evenly in a cross pattern. Snug only—don’t over-tighten (protects the gasket and future 2.2 L sealing).
- Reconnect the rear hose. Confirm firm fit.
- Isolate & leak-check the bellows. Briefly inflate the bellows (e.g., syringe/air), seal the port with your hand, and watch for drop. Holds → bellows OK; drops → possible bellows issue.
- Avoid false alarms. Remember the 2.2 L bellows is ~7× larger; system leaks elsewhere can look like “bellows leaks.”
- Do not adjust internals. 300 ml bellows are factory-set; if a true bellows leak is suspected, contact service.